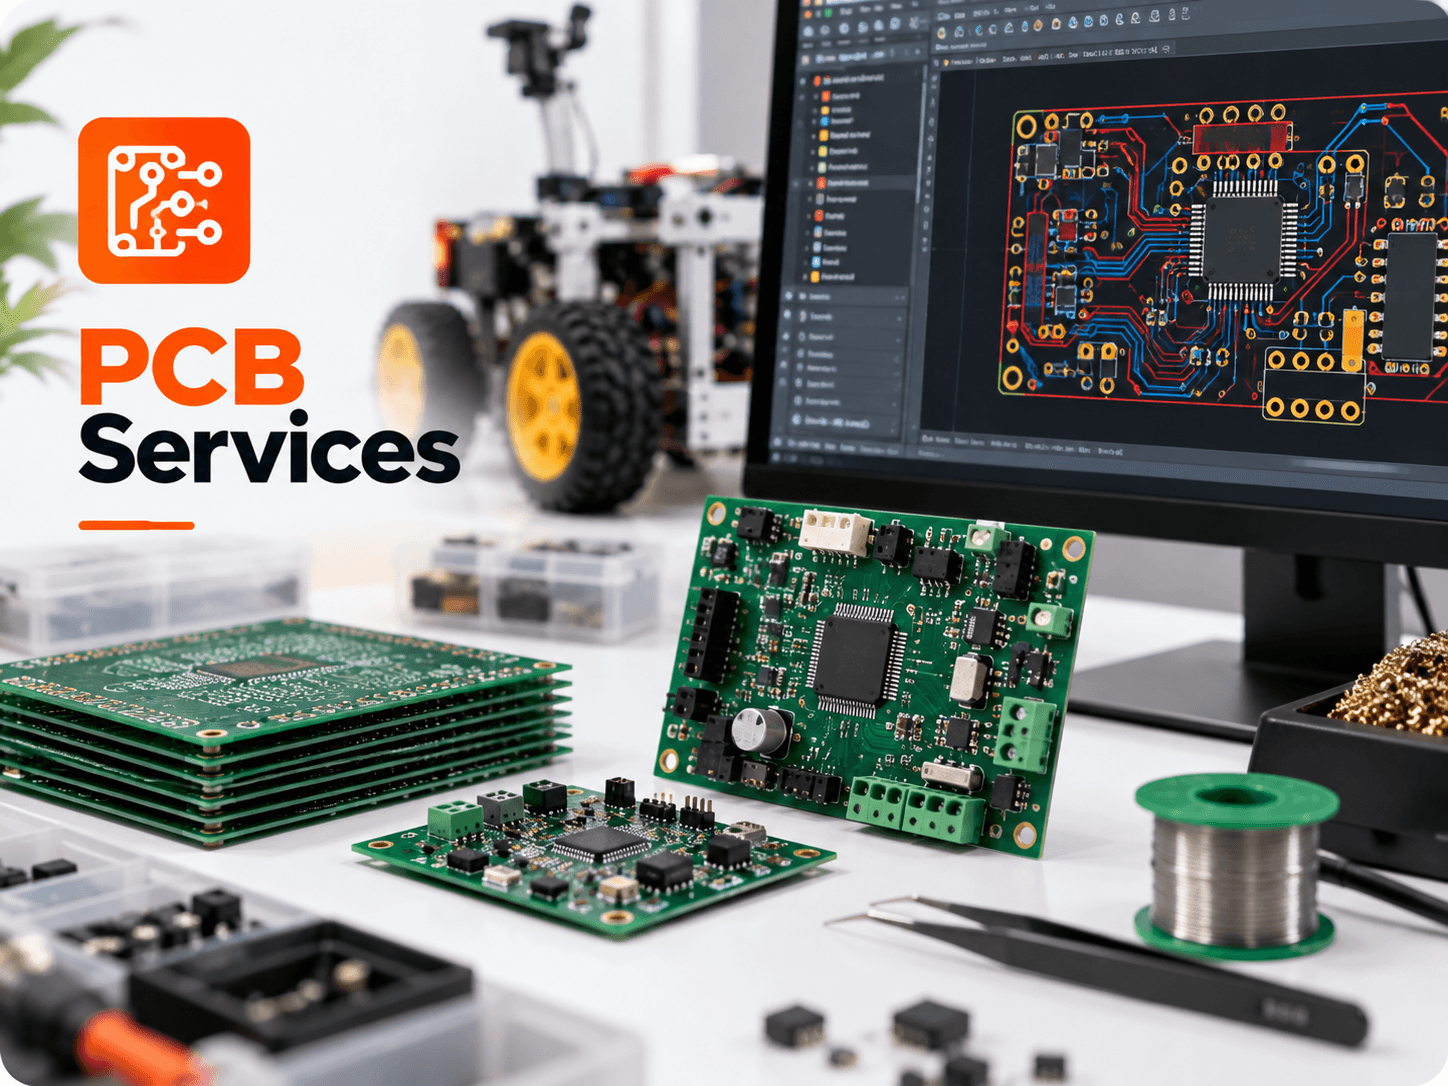
Every revolutionary hardware product—whether an autonomous agricultural drone, a smart factory sensor, or a competition combat robot—begins with a circuit concept on a breadboard or simulation canvas. But transforming a fragile breadboard with tangled jumper wires into a rugged, deployable circuit board requires a disciplined hardware engineering progression. At Tamizh Tech Robotics Company in Coimbatore, we walk innovators through this exact journey.
Stage 1: Proof-of-Concept & Circuit Verification
Before committing to custom layout, validate the core operating principles of your circuit. Build critical subsystems on a solderless breadboard or perfboard to test microcontroller logic, verify sensor communication addresses (I2C/SPI), and measure actual voltage drops across load switches. Documenting these initial parameters ensures the subsequent schematic capture is accurate.
Stage 2: Schematic Capture & Sourcing Audit
Our engineers capture your circuit in industry-standard EDA software (KiCad/Altium), creating formal schematic sheets with clean reference designators. Crucially, we audit every part against real-time stock availability with authorized electronic distributors (Mouser, Element14, LCSC) to ensure all components can be procured without multi-month lead times.
Stage 3: Board Layout & Mechanical Enclosure Alignment
Layout is where electrical and mechanical constraints intersect. We place connectors, LEDs, switches, and mounting holes to perfectly fit your target enclosure (whether 3D printed, sheet metal laser cut, or off-the-shelf). Multi-layer routing establishes solid ground planes and calculates impedance-matched traces for RF and high-speed buses.
Stage 4: Rapid Fabrication and SMT Assembly
Precision bare FR-4 circuit boards are fabricated with solder mask and silkscreen, followed by SMT laser stencil solder paste printing, automated pick-and-place component placement, and multi-zone reflow soldering.
Stage 5: Bench Bring-Up in Our Coimbatore Hardware Lab
- Microscopic Solder Joint Inspection: Checking for cold joints, tombstoning, and solder bridges on fine-pitch IC pins.
- Power Rail Continuity Checks: Measuring DC resistance across 3.3V, 5V, and battery power rails before applying power to ensure zero dead shorts to ground.
- Controlled Power-On: Powering the board using a current-limited DC bench power supply to monitor quiescent current consumption.
- Initial Firmware Flashing: Connecting an ST-Link or USB-to-UART adapter to flash blink test firmware and verify microcontroller heartbeat.
Begin Your Hardware Prototyping Journey →
Go Now